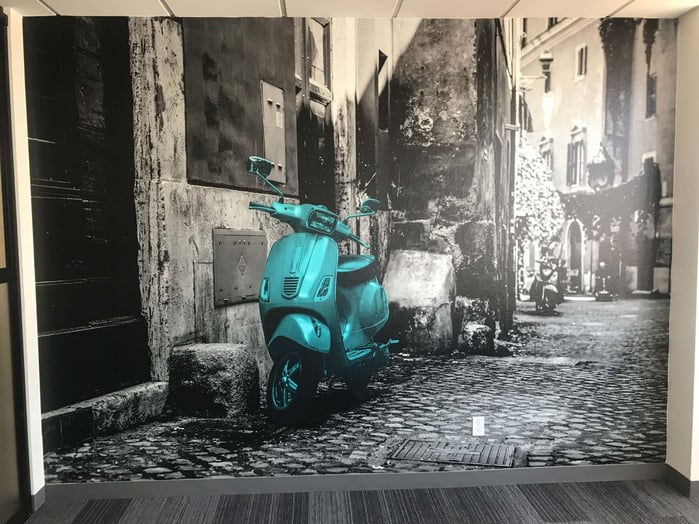
Want a wall like this one? We created large format wall graphics for Streamline earlier this month and wanted to share with our viewers a few little DIY tips for photoshopping an image like the ones for this office space. Once you've created the image you like contact us and we can help you bring it to life!
Here is how to get a black and white photo with just a touch of color:
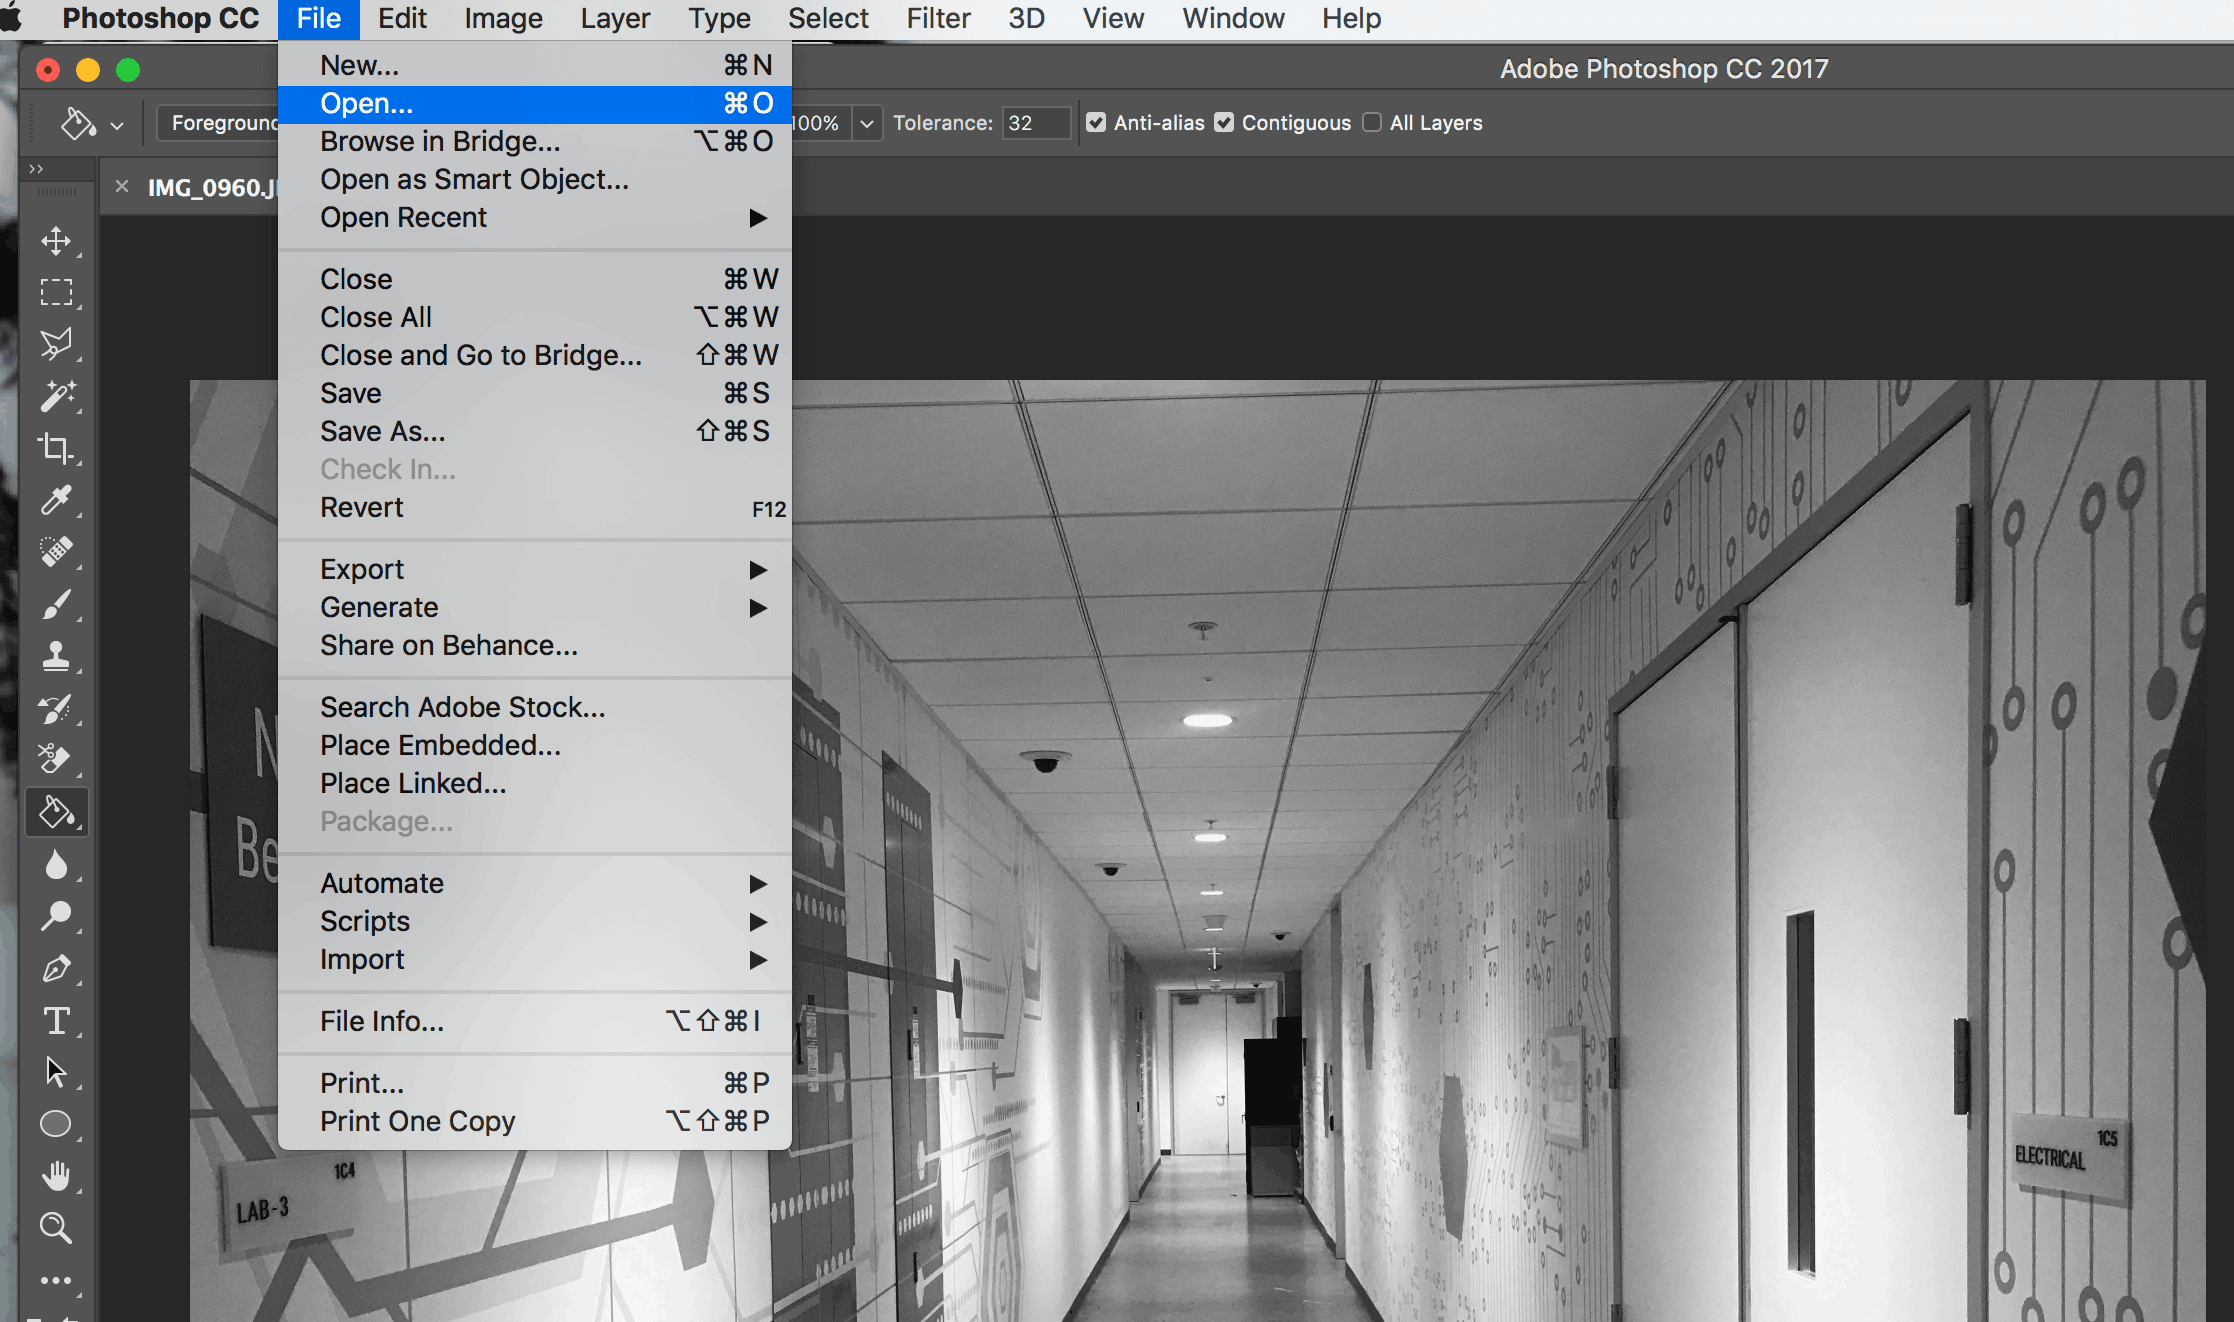
- Open photoshop and upload your photo: hit command + O on your computer or go to "file" then "open new"
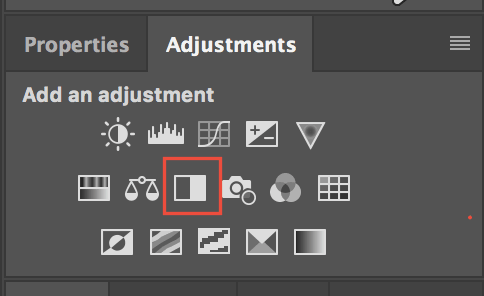
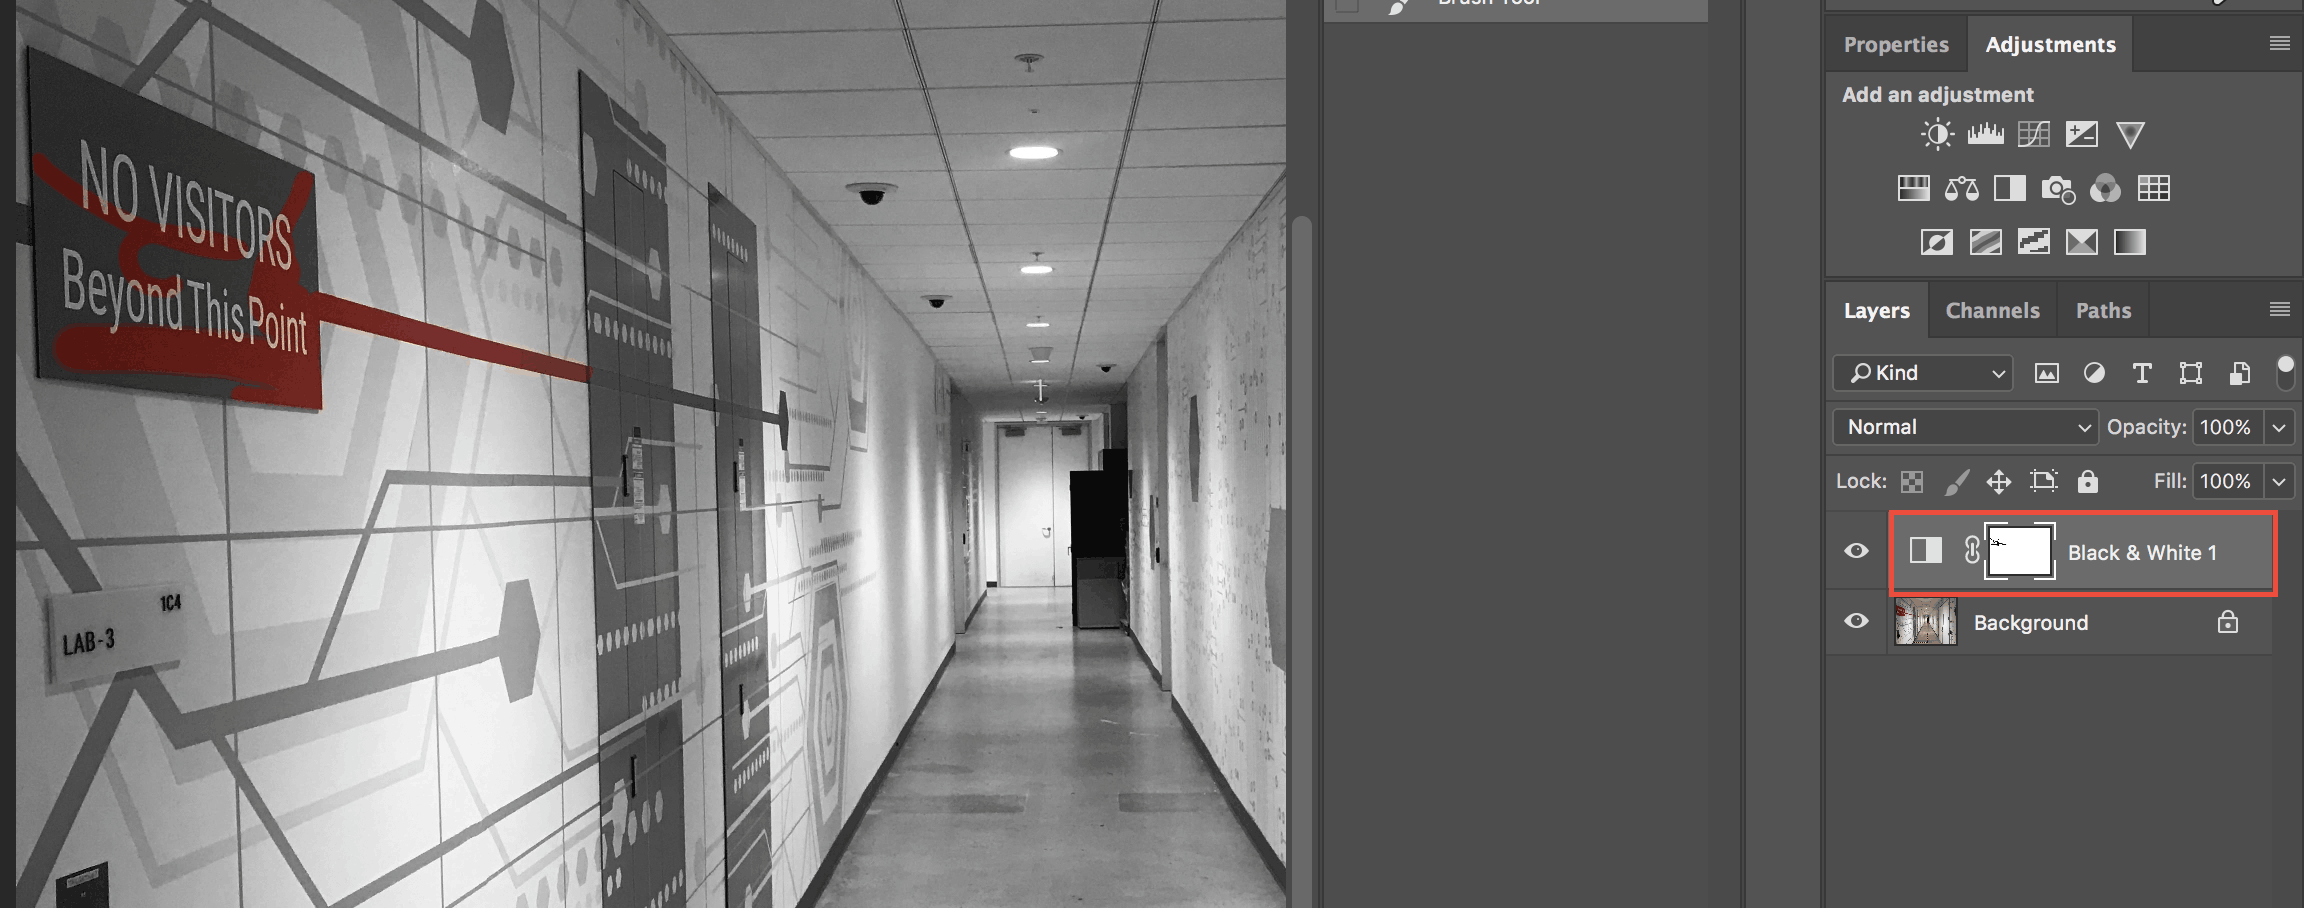
- add a black and white adjustment layer by selecting the "adjustments" tab on your right hand panel then selecting the black and white box
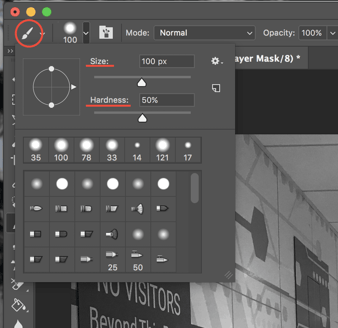
- Select your paintbrush tool. Open the "Brush picker" in the tool bar and change the "Size" and "Hardness" of the brush tip to fit your image.
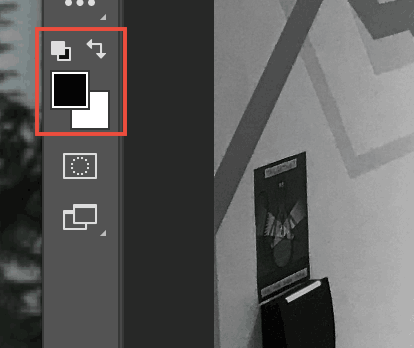
- Go to the color boxes at the bottom of the tools panel. Then click the double-pointed arrow icon to switch the black box to the foreground.
- Make sure that your "black and white" layer is selected in your layers panel, then paint over the area of the photo you want in color with your brush tool.
- When you are done save your photo and export for use!

If you want to make your photo a custom print call 650- 696-2100 or Contact us for more options!

Related posts